Good afternoon, readers! You're in for a treat today. I just spent the better part of the afternoon working on a wonderful little tutorial for you all. I hope it is easy enough to follow. I tried to make sure to take pictures of every step along the way. Well....here goes nothing!
Wire Wrapped HeartsMaterials you will need:20 gauge wire 26 gauge wireWire cuttersRound nose pliersNeedle nose pliers(*Not pictured: tape measure, ruler, etc.)
Start by measuring out about 3 inches of the thicker, 20g wire. Cut with wire cutters.
Now measure out around 6 inches of the thinner, 26g wire. Cut with wire cutters.
Place one of each type of wire together so that they cross at the center. (It doesn't have to be exact. You can adjust it later.)
Bend the 26g wire in half, creating a soft V shape.
Hold the left wire with the index finger and thumb of your left hand. Use your right hand to begin wrapping the 26g wire around the 20g wire.
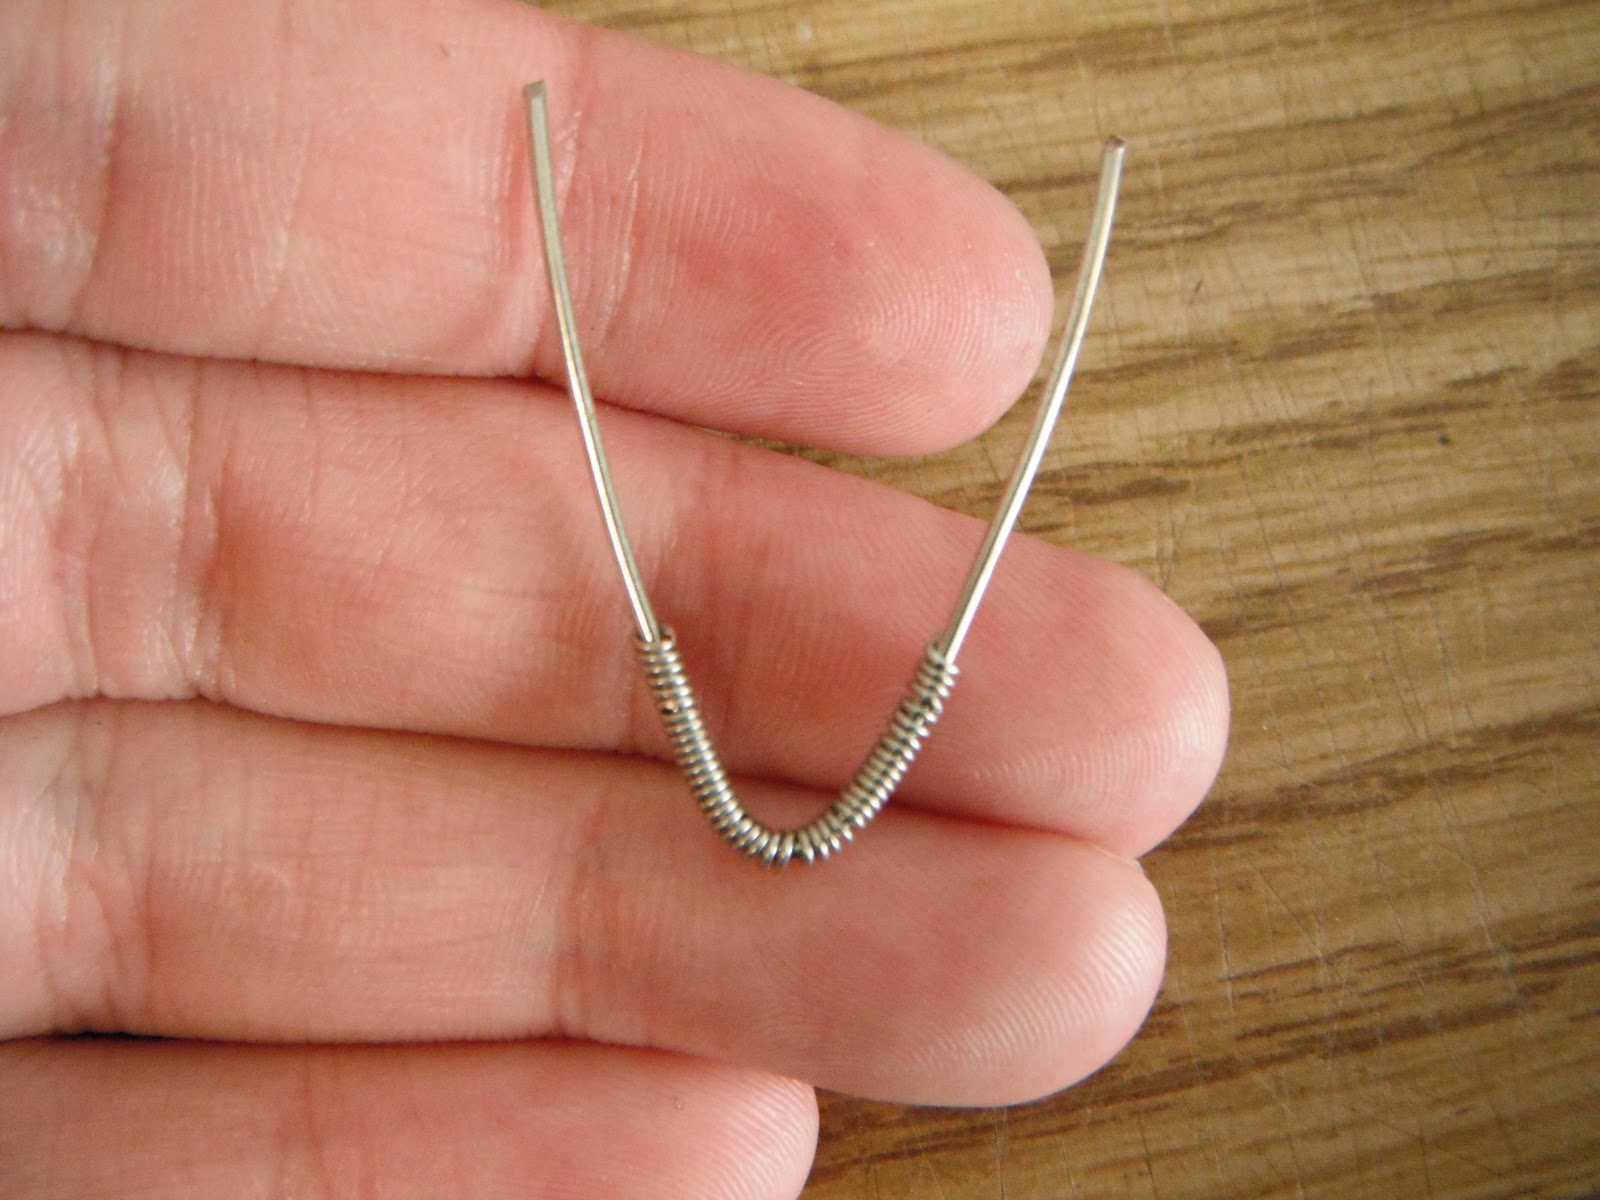
Keep wrapping as tight as you can. If the wrapping gets to spaced out like this:
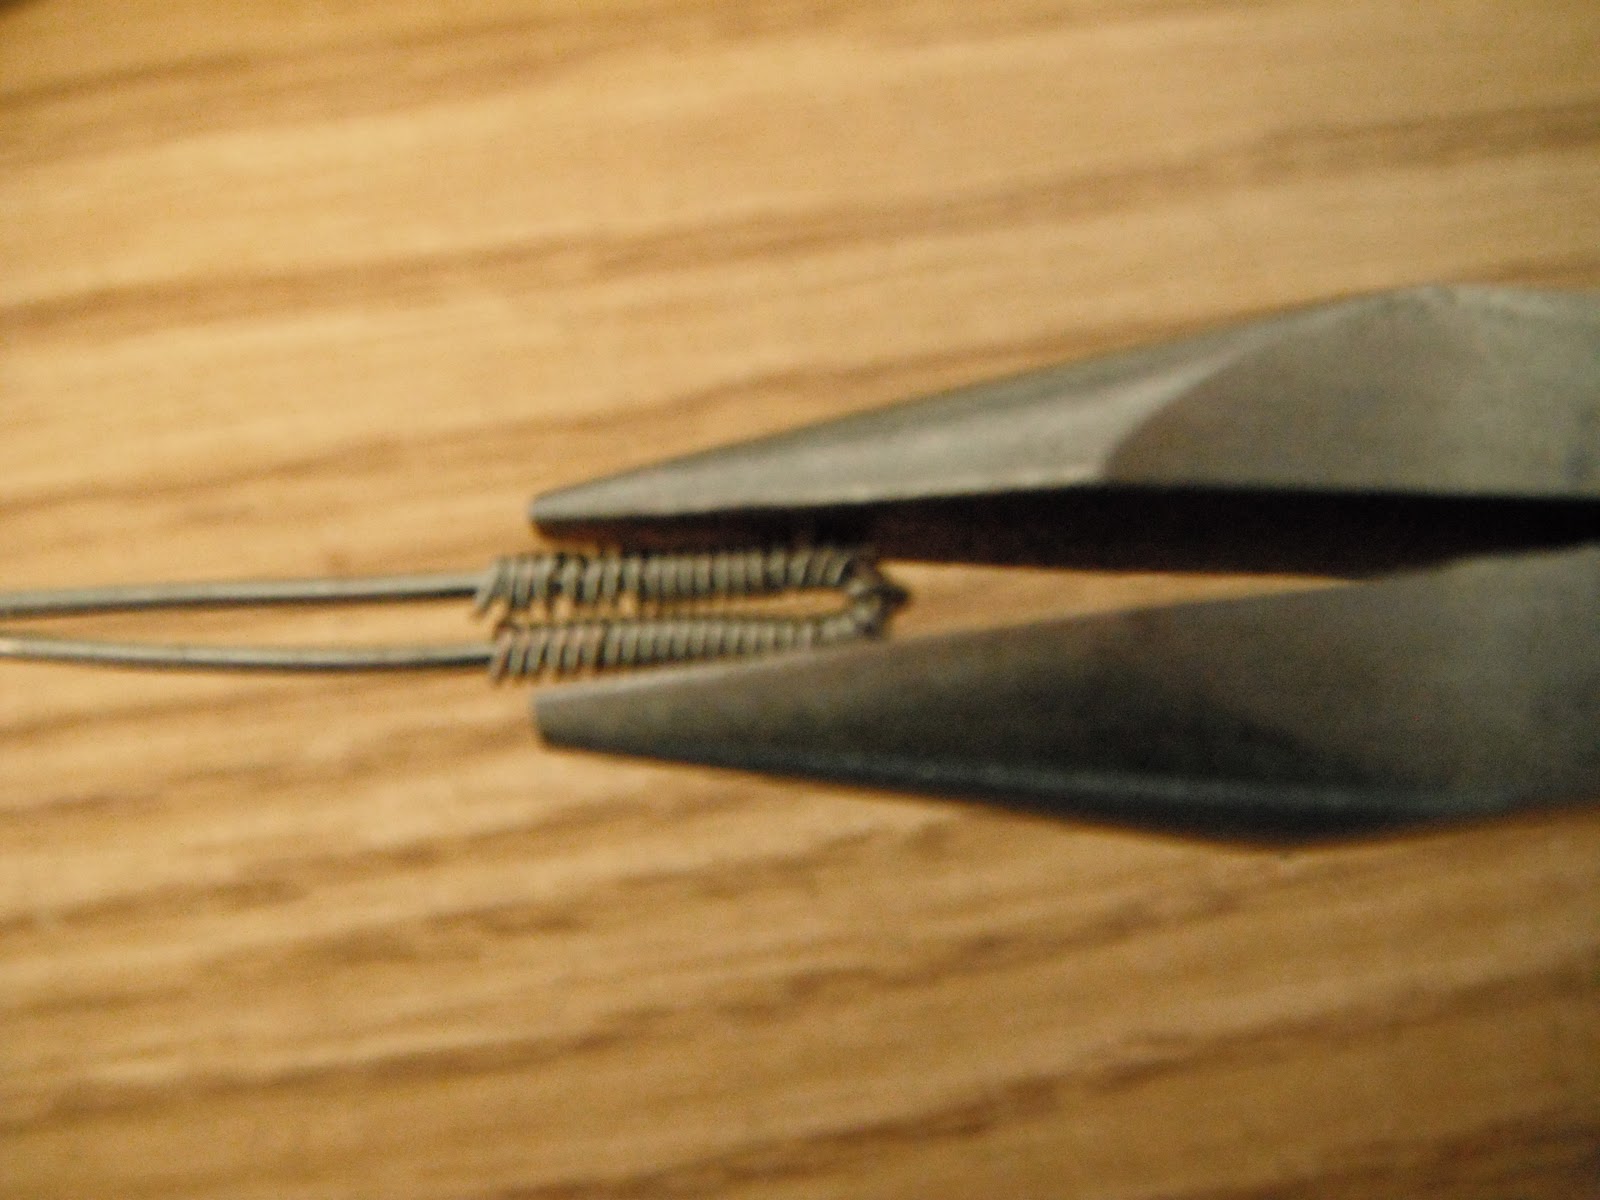
Then take the round nose pliers and gently squeeze the coils together, making a more uniform look.
Wrap as far as you can by hand. When you get to the end, you may need to use the pliers to wrap the last little bit. (I always use the pliers here. The wire hurts when it is that short.)
This is what it should look like when you have completed the first half of the wire wrapping.
Now turn the whole thing over in your hands so you can work with the remaining wire.
I can usually hold it still with just my fingers, but you may want to use the pliers again to hold the whole thing still while you wrap the remaining section of wire.
Continue wrapping until all the 26g wire has been used up.Then center the coils as best you can. Then squeeze the ends together so you now have another soft V shape.
Use the pliers to make the end come to more of a point, if you like. You can also leave the tip more rounded. Its all a matter of preference.
Now take the needle nose pliers and grab the exposed ends of the wire. You will want to position the wire over the larger part of the pliers to get a bigger circle when we curl.
Now twist the pliers toward yourself, making the wire curl around the pliers.
Continue twisting until the end of the curl reaches the rest of the wire.
Now separate the two "arms", making a V shape once again.
Turn the curls so they face into the center.
Now you can adjust the curls to make them wider, more narrow, etc. Again, a matter of preference. I chose to make the curls a bit bigger.
Be sure to do the same to both curls so they are as symmetrical as possible.
Now measure out about 1/2 inch of the 26 gauge wire. This will be used to close up the heart.
Fold this small section of wire into yet another soft V shape.
Feed it through the middle of the curls, from back to front.
Cross the wires so that the left wire is now on the right and the right wire is now on the left. Be sure to pull tight so you get a nice, clean look when you are finished.
Now feed each wire through to the back and cross over to the opposite side again, making sure to pull tight.
Continue doing this until all the wire is coiled around and the ends are tight against the larger wire. Your finished product should look something like this.
And now you're done!!! :)
On Monday I will expand on this tutorial and show you how to take two of these hearts and make them into a super cute pair of earrings!!! I hope you've enjoyed my tutorial. Feedback is always welcome. If there's something that is unclear or that you have tips on how to improve, please leave me a comment below. Thanks so much!
Until next week,
The Everyday Jeweler


No comments:
Post a Comment