Thursday, March 24, 2011

My Internet is Back, and a Poll to Boot!

I am pleased to announce that my internet is finally up and running again!
It's been out over a week and I thought I might die of networking withdraws! Haha

As for that tutorial I promised, I suppose it will have to wait until next week. 

I need some opinions though....
I want to do a theme for each day of the week, to help keep me on track. 
I have some ideas already, but I can always use more. 
So far I have:
  • Music Mondays (I'll post a song/ music video to share with you all)
  • Totally Wired Tuesdays (Tutorial or new piece of jewelry that involves wire)
  • Wild Wednesdays (This will be the "wild card" of the week, so it could be a post about anything!)
  • Thankful Thursday (I will tell something I am thankful for and then share with you and giveaways, coupons, etc I have found)
  • Friendly Friday (This is where I will feature fellow artisans, bloggers, and even friends. Might do some reviews as well, if anyone is interested in that.)
I also had some other ideas, but I don't think I like them as well.
Must Have Mondays, Thoughtful Thursday (variation on Thankful), Thirsty Thursday, Finding Friday, etc.
You get the idea. :)

Any thoughts or suggestions on this would be much appreciated. Thanks in advance for the help! 

The Everyday Jeweler

Friday, March 18, 2011

Tribtany Designs and East of Eden Jewelry Giveaway WINNER!!!!

Sorry for the delay folks, but I won't make you wait any longer.


The winner of the Tribtany Designs and East of Eden Jewelry Giveaway is....
(drum-roll, please!)

KIM!!!
Kim, you have 3 days to respond to my email with your address.
If you fail to do so, a new winner will be chosen at random.

Thank you to everyone who entered!!

On a side note, I have a tutorial planned for next week, so keep an eye out for that. 

Have a great weekend everyone. See you next week!

The Everyday Jeweler

Saturday, March 12, 2011

New Widget to Help Find Giveaways!

I found this neat site called GivewayScout.com

They list giveaways in a little widget so you can find them easily. I have installed this widget in the sidebar on the right side of my blog. You can also go straight to their website by following this link to GiveawayScout.

GiveawayScout says:
"Giveaway Scout is a giveaway search engine. Our users subscribe to receive updates on the latest giveaways on the web. Add your blog and your giveaways will be exposed to our large network or users."

Hope this helps! 
The Everyday Jeweler

Tuesday, March 8, 2011

Blog Giveaway with East of Eden Jewelry!!

Giveaway Details:
 
1.) The giveaway entry period will be from March 9th - March 16th. 
The winner of the jewelry will be selected at random on March 17th, 
and will be notified by email, as well as 
the winner will be announced on both blogs. 
If you have not responded to the email with your address within 3 days, 
a new winner will be selected at random.
2.) Up for grabs is a beautiful set of earrings by Tribany Designs - 
"All Wrapped Up in Love"
These little hearts are wrapped in silver plated wire and 
hung from sterling ear wires by handmade jump rings. 
Spring is in the air, so don these dangles and spread the love!

And a handcrafted necklace by East of Eden Jewelry -
 “Drops into the Sea” This copper chained beauty features 
wonderful rich drops of imitation turquoise, 
and will be sure to compliment any outfit!
 Bring the sea with you, and see what it brings you.

How to Enter:
1.) You must be a public follower of BOTH artist’s blogs:
Tribany Designs - http://theeverydayjeweler.blogspot.com/
East of Eden Jewelry - http://thetaleofalash.blogspot.com/
2.) Comment on this post, saying ‘enter me’ or something to that effect. 
+1 extra entry if you tell us about what type of jewelry that you like best - earrings, necklaces... etc.
+1 extra entry if you tell us about what your personal style is like - earthy, funky, vintage... etc.
+3 extra entries if you link us on your own personal blog!
 Leave us a note in your comment if you do this. 

Be sure to tell your friends so they can enter, too! :)
Good luck!

The Everyday Jeweler

Monday, March 7, 2011

St. Patty's Day Jewelry Set

Good evening everyone!

I just wanted to share with you my newest creation, the St. Patty's Day Set.

It includes earrings,
a bracelet,
and a necklace.
This cute set is perfect for showing off your St. Patty's Day pride!

Also great for those with an August birthday. The beads are all peridot colored glass.
All findings are sterling silver.

If you like what you see, visit my Etsy page. 

That's all I have for now. Feedback is always welcome, just leave a comment below.

Thanks for viewing!

The Everyday Jeweler

Wire Wrapped Hearts, Part Deux: Earrings

Welcome to part two of my wire wrapped hearts tutorial!
In this lesson, I will demonstrate how to use the little hearts we made last time into super cute, ready for spring earrings. And I promise that this addition takes very little time and effort. You already did the hard part. :)

Wire Wrapped Heart Earrings
Materials needed:
A bit of 20g wire
Two fishhook earwires
Two pairs of pliers (round nose and needle nose)
Wire cutters
Let's begin! 
 Gather up your hearts from last time and get out the 20g wire.

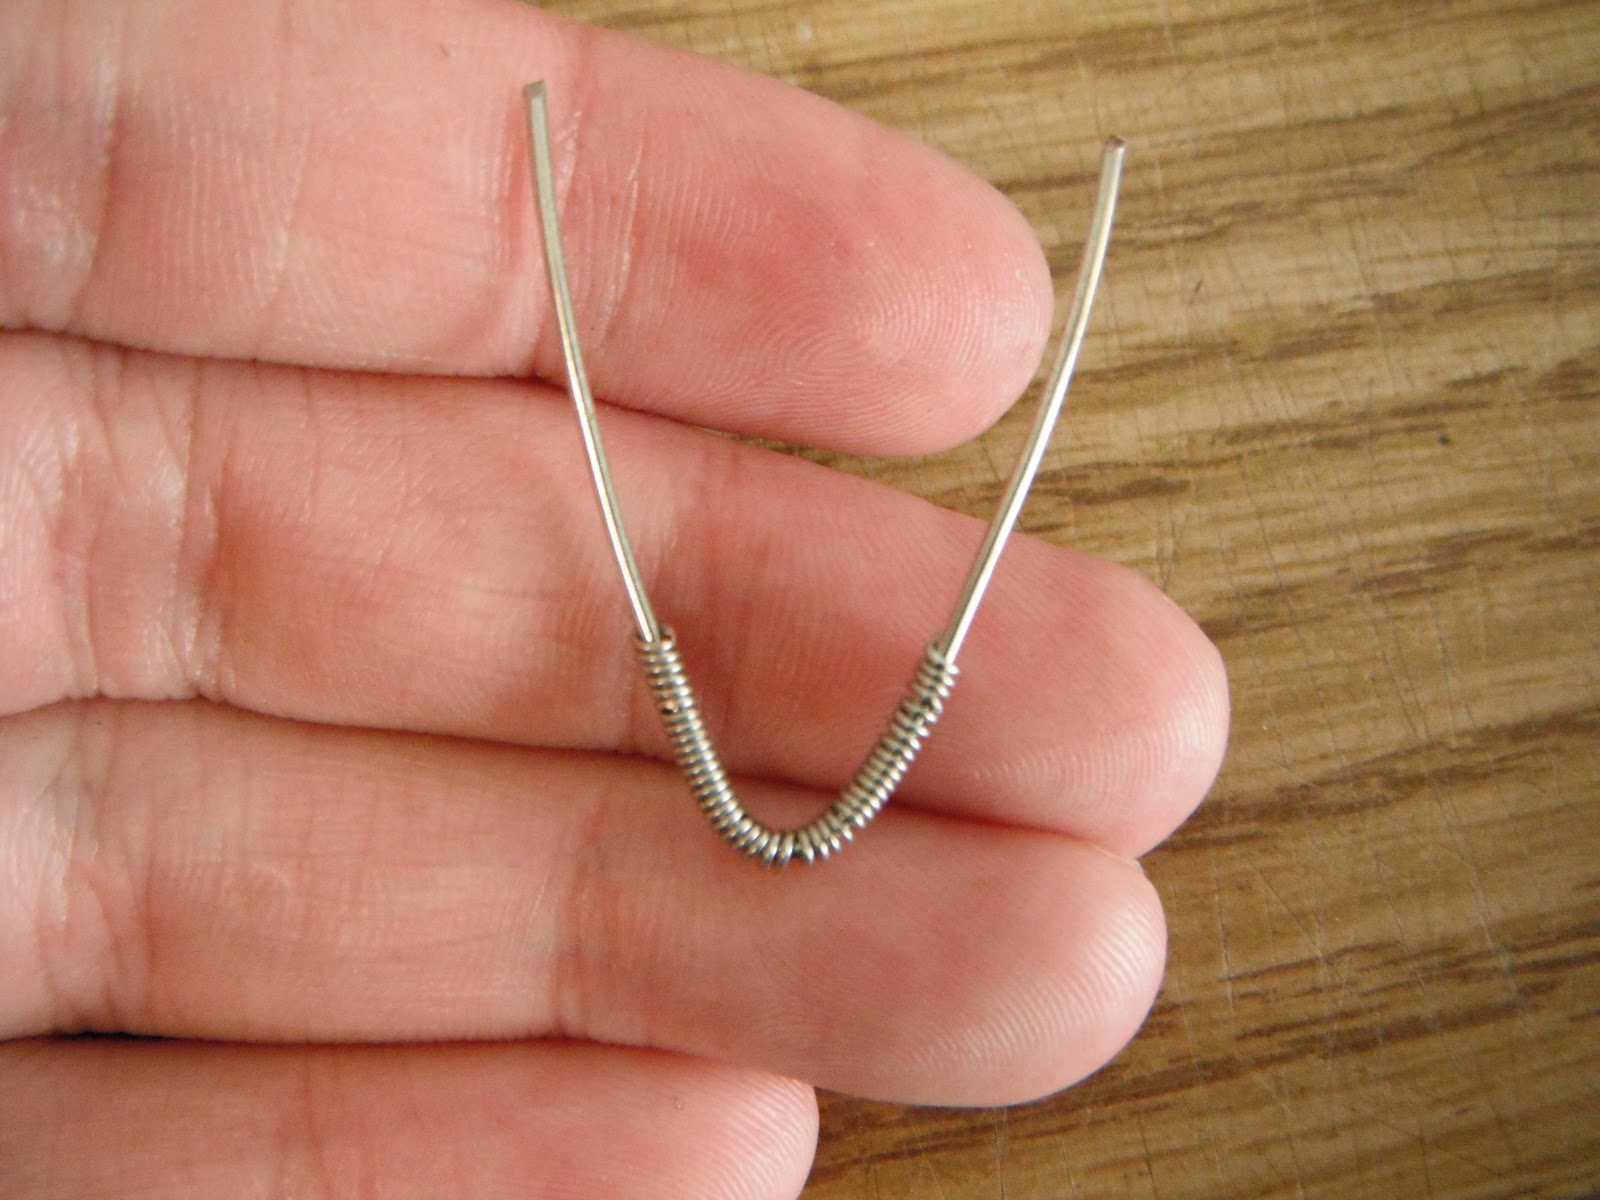
 Take the end of the wire and wrap it around the needle nose pliers, just like when we made the curls for the hearts.
Do this again, so that when you get back to the beginning, you should have two coils.
Do this twice more, so that you have a total of four complete coils. These will be made into jump rings.
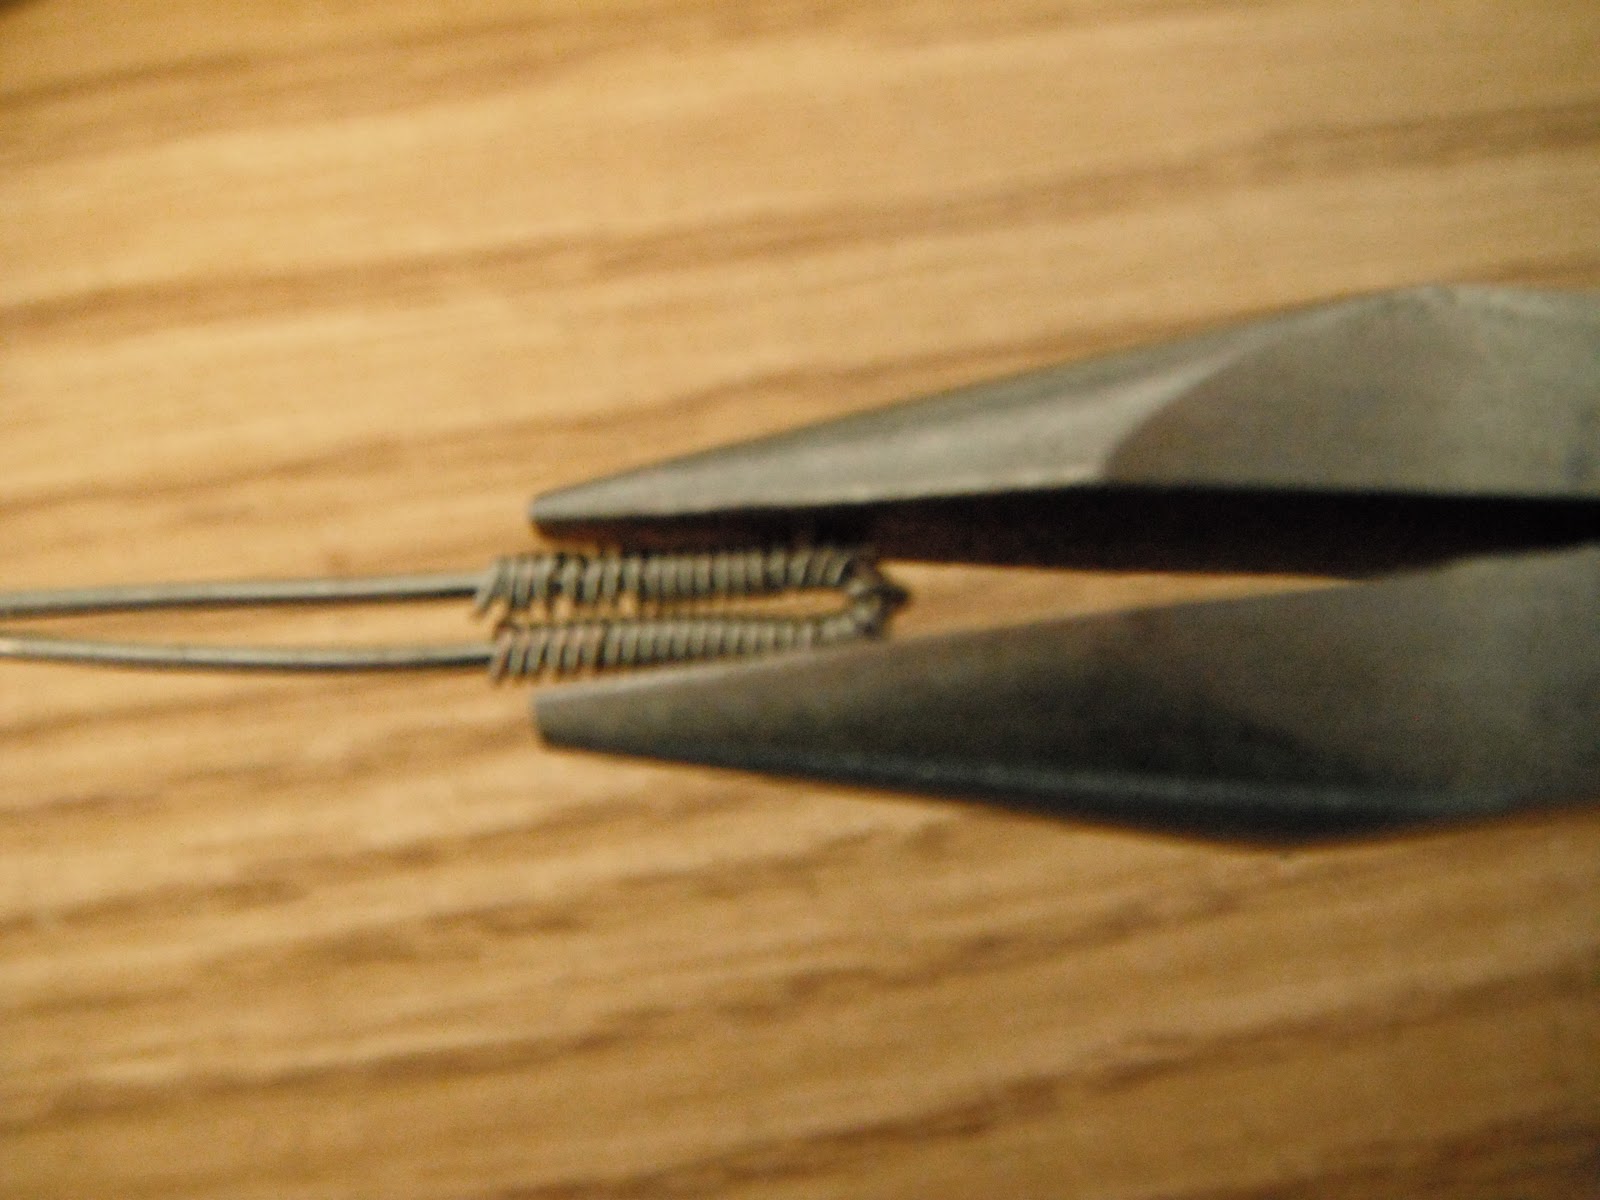
Take the coils off the pliers and grab the wire cutters. Position the cutter so that the cut you make is in line with the beginning of the first coil. In other words, you are trying to make a little ring, so cut each one as close to the end of the last as possible. (Sorry for the blurry picture. I had a hard time trying to show this step.)
When you cut, it should look like this. Depending on how strong your hands are and how good your wire cutters are, the ring might fall away on its own. That is perfectly fine.
Now you have one jump ring.
Repeat this process three more times, creating the remainder of the jump rings we need.
Now we need to open the jump rings so that we can attach them to the hearts. To do this, grab one side of the ring with a pair of pliers. Pull the ring perpendicular to itself, so that you are not stretching or misshaping the ring in any way. You can do this with your hands or by using the second set of pliers.
Now pick up one of the hearts and feed the jump ring through one of the curls at the top of the heart. Close the ring by squeezing it as shown below, so that the ring lays inside the pliers before you squeeze. The ends of the ring should meet. If they do not, you may have to adjust the ring a bit to make it work. These are handmade jump rings, after all.
Do this again for the other curl. And repeat for the second heart.
Now we need two more jump rings to attach the fishhook ear wires to the hearts. So make those now. They can be any size you like, but I would recommend making them at least as big as the first rings you made, if not even a little larger.
Open one of the jump rings with the pliers. Keeping the ring held with the pliers, pick up one of the hearts and feed both of the attached jump rings through the new one. Do not close the jump ring yet.
Now pick up one of the ear wires and feed it onto the open jump ring. Close the jump ring, making sure that there are no gaps. You don't want the hearts falling off while you wear them!
Repeat this process for the second heart and then you are done!
 And here is the finished product, ready to wear, share, or just simply enjoy!


These earrings will be featured in an upcoming giveaway that Trbtany Designs is co-hosting with East of Eden Jewelry, so keep an eye out for that very soon.
I hope you all have enjoyed crafting with me today. If you try these, post a link on here so I can see all of your awesome work! Thanks!

Keeping it Krafty,

The Everyday Jeweler

Friday, March 4, 2011

Wire Wrapped Hearts Tutorial

Good afternoon, readers! You're in for a treat today. I just spent the better part of the afternoon working on a wonderful little tutorial for you all. I hope it is easy enough to follow. I tried to make sure to take pictures of every step along the way. Well....here goes nothing!

Wire Wrapped Hearts
Materials you will need:
20 gauge wire
 26 gauge wire
Wire cutters
Round nose pliers
Needle nose pliers
(*Not pictured: tape measure, ruler, etc.)


Start by measuring out about 3 inches of the thicker, 20g wire. Cut with wire cutters.


Now measure out around 6 inches of the thinner, 26g wire. Cut with wire cutters.


Place one of each type of wire together so that they cross at the center. 
(It doesn't have to be exact. You can adjust it later.)


Bend the 26g wire in half, creating a soft V shape.


 Hold the left wire with the index finger and thumb of your left hand. Use your right hand to begin wrapping the 26g wire around the 20g wire.

Keep wrapping as tight as you can. If the wrapping gets to spaced out like this:


Then take the round nose pliers and gently squeeze the coils together, making a more uniform look.


Wrap as far as you can by hand. When you get to the end, you may need to use the pliers to wrap the last little bit. (I always use the pliers here. The wire hurts when it is that short.)


This is what it should look like when you have completed the first half of the wire wrapping.


Now turn the whole thing over in your hands so you can work with the remaining wire.


I can usually hold it still with just my fingers, but you may want to use the pliers again to hold the whole thing still while you wrap the remaining section of wire.


Continue wrapping until all the 26g wire has been used up.Then center the coils as best you can. Then squeeze the ends together so you now have another soft V shape.


Use the pliers to make the end come to more of a point, if you like. You can also leave the tip more rounded. Its all a matter of preference.


Now take the needle nose pliers and grab the exposed ends of the wire. You will want to position the wire over the larger part of the pliers to get a bigger circle when we curl.


Now twist the pliers toward yourself, making the wire curl around the pliers. 


Continue twisting until the end of the curl reaches the  rest of the wire.


Now separate the two "arms", making a V shape once again.


Turn the curls so they face into the center.


Now you can adjust the curls to make them wider, more narrow, etc. Again, a matter of preference. I chose to make the curls a bit bigger.


Be sure to do the same to both curls so they are as symmetrical as possible.


Now measure out about 1/2 inch of the 26 gauge wire. This will be used to close up the heart.


Fold this small section of wire into yet another soft V shape.


Feed it through the middle of the curls, from back to front.


Cross the wires so that the left wire is now on the right and the right wire is now on the left. Be sure to pull tight so you get a nice, clean look when you are finished.


Now feed each wire through to the back and cross over to the opposite side again, making sure to pull tight.


Continue doing this until all the wire is coiled around and the ends are tight against the larger wire. Your finished product should look something like this.


And now you're done!!! :)

On Monday I will expand on this tutorial and show you how to take two of these hearts and make them into a super cute pair of earrings!!! 
 
I hope you've enjoyed my tutorial. Feedback is always welcome. If there's something that is unclear or that you have tips on how to improve, please leave me a comment below. Thanks so much!

Until next week,

The Everyday Jeweler

Related Posts Plugin for WordPress, Blogger...