Showing posts with label tutorial. Show all posts

Thursday, May 5, 2011

Floral Hairpin Tutorial

Hey guys. Sorry I haven't been on here in awhile. I've been super busy. But today is your lucky day!

Want to know why? 
Because I have a TUTORIAL for you!! YAY!

Today's tutorial is pretty straight forward. It shows how I make my flower hairpins. :)
So, without further ado...

The Floral Hairpins Tutorial

First you need to gather up some supplies. Be sure you have:
  • A hot glue gun and extra glue sticks
  • Assorted artificial flowers to choose from
  • Glitter, buttons, feathers, and anything else you like to embellish with
  • A bobby pin, barrette, or ponytail holder
Next, plug in your glue gun so it is hot and ready soon.
Pick out which flower you want to work with.
I chose the little white daisy for this tutorial
Now you need to check and see if it has a stem. If so, remove it now. Most stems will pull out of the base of the flower easily, but you may need to cut it.

This particular flower has an extra piece at the base where the stem attaches. If you want to remove it, use scissors and do so now.
You want the bottom of the flower to be as flat as possible.
Now you need to decide what you want to embellish the flower with.
I chose pink glitter and a small black button.
Hopefully your glue gun is warm enough by now, so we can start adding details. Pipe a layer of glue in a circular patter in the very center of the flower. The size of the glue circle will depend on how much glitter you want in your finished product. (You can always add more later.)
Sprinkle some glitter over the glue while its still warm and then shake off the excess. You don't want your hairpin to shed glitter on you when you wear it.
Now pick up the button and put a little dab of glue on the back side. Center it in the middle of the flower and lightly press it into place. 
Once the button is securely in place, flip the flower over and put a bit of glue on the back side.
Take the bobby pin and place it in the glue. You may want to pipe a little more glue over the tip of the pin to keep in place and make it a little more secure.
Let that dry thoroughly before you do move it. Once it is dry, flip it over and see your finished product!! :)

And there you have it. A daisy hairpin made by you!

Thanks for reading and viewing my tutorials. I hope you all enjoyed this one. If you have any questions or if some of the directions aren't clear enough, just comment below and I would be happy to clarify for you. Feedback is always welcome, as well. 

Happy Thursday!

The Everyday Jeweler

Monday, March 7, 2011

Wire Wrapped Hearts, Part Deux: Earrings

Welcome to part two of my wire wrapped hearts tutorial!
In this lesson, I will demonstrate how to use the little hearts we made last time into super cute, ready for spring earrings. And I promise that this addition takes very little time and effort. You already did the hard part. :)

Wire Wrapped Heart Earrings
Materials needed:
A bit of 20g wire
Two fishhook earwires
Two pairs of pliers (round nose and needle nose)
Wire cutters
Let's begin! 
 Gather up your hearts from last time and get out the 20g wire.

 Take the end of the wire and wrap it around the needle nose pliers, just like when we made the curls for the hearts.
Do this again, so that when you get back to the beginning, you should have two coils.
Do this twice more, so that you have a total of four complete coils. These will be made into jump rings.
Take the coils off the pliers and grab the wire cutters. Position the cutter so that the cut you make is in line with the beginning of the first coil. In other words, you are trying to make a little ring, so cut each one as close to the end of the last as possible. (Sorry for the blurry picture. I had a hard time trying to show this step.)
When you cut, it should look like this. Depending on how strong your hands are and how good your wire cutters are, the ring might fall away on its own. That is perfectly fine.
Now you have one jump ring.
Repeat this process three more times, creating the remainder of the jump rings we need.
Now we need to open the jump rings so that we can attach them to the hearts. To do this, grab one side of the ring with a pair of pliers. Pull the ring perpendicular to itself, so that you are not stretching or misshaping the ring in any way. You can do this with your hands or by using the second set of pliers.
Now pick up one of the hearts and feed the jump ring through one of the curls at the top of the heart. Close the ring by squeezing it as shown below, so that the ring lays inside the pliers before you squeeze. The ends of the ring should meet. If they do not, you may have to adjust the ring a bit to make it work. These are handmade jump rings, after all.
Do this again for the other curl. And repeat for the second heart.
Now we need two more jump rings to attach the fishhook ear wires to the hearts. So make those now. They can be any size you like, but I would recommend making them at least as big as the first rings you made, if not even a little larger.
Open one of the jump rings with the pliers. Keeping the ring held with the pliers, pick up one of the hearts and feed both of the attached jump rings through the new one. Do not close the jump ring yet.
Now pick up one of the ear wires and feed it onto the open jump ring. Close the jump ring, making sure that there are no gaps. You don't want the hearts falling off while you wear them!
Repeat this process for the second heart and then you are done!
 And here is the finished product, ready to wear, share, or just simply enjoy!


These earrings will be featured in an upcoming giveaway that Trbtany Designs is co-hosting with East of Eden Jewelry, so keep an eye out for that very soon.
I hope you all have enjoyed crafting with me today. If you try these, post a link on here so I can see all of your awesome work! Thanks!

Keeping it Krafty,

The Everyday Jeweler

Friday, March 4, 2011

Wire Wrapped Hearts Tutorial

Good afternoon, readers! You're in for a treat today. I just spent the better part of the afternoon working on a wonderful little tutorial for you all. I hope it is easy enough to follow. I tried to make sure to take pictures of every step along the way. Well....here goes nothing!

Wire Wrapped Hearts
Materials you will need:
20 gauge wire
 26 gauge wire
Wire cutters
Round nose pliers
Needle nose pliers
(*Not pictured: tape measure, ruler, etc.)


Start by measuring out about 3 inches of the thicker, 20g wire. Cut with wire cutters.


Now measure out around 6 inches of the thinner, 26g wire. Cut with wire cutters.


Place one of each type of wire together so that they cross at the center. 
(It doesn't have to be exact. You can adjust it later.)


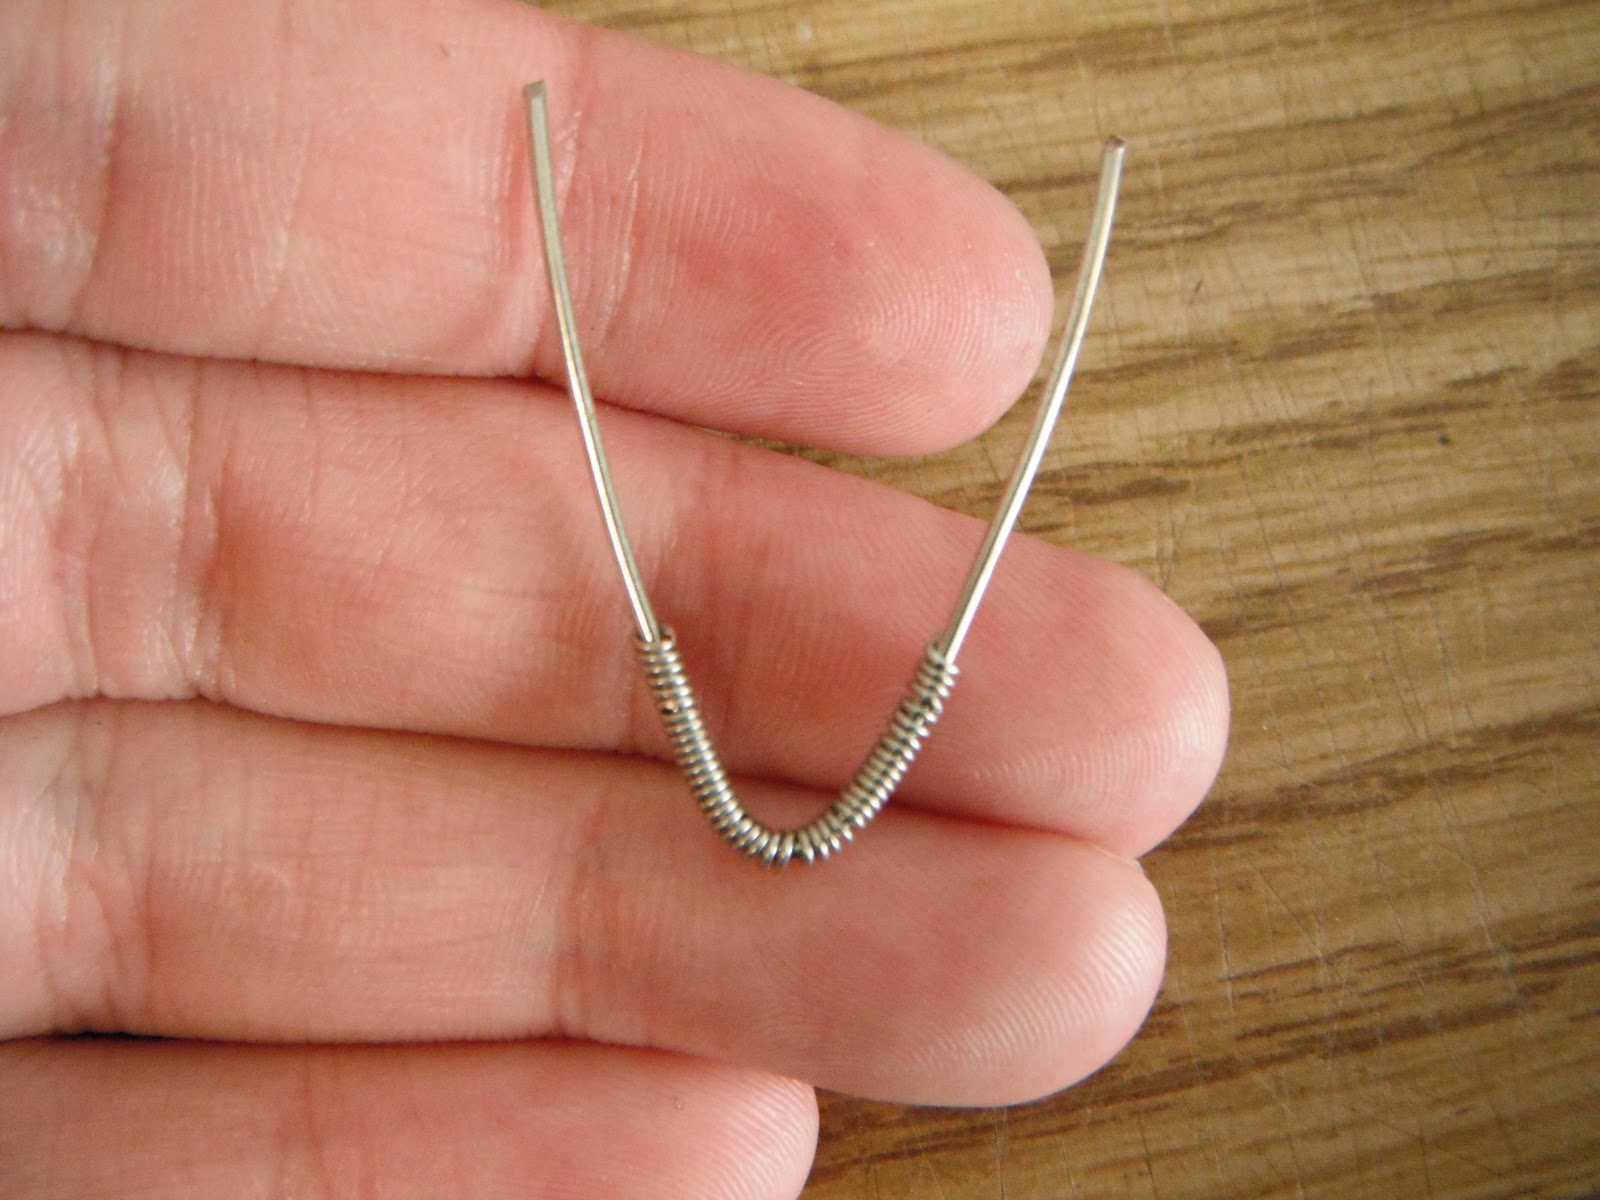
Bend the 26g wire in half, creating a soft V shape.


 Hold the left wire with the index finger and thumb of your left hand. Use your right hand to begin wrapping the 26g wire around the 20g wire.

Keep wrapping as tight as you can. If the wrapping gets to spaced out like this:


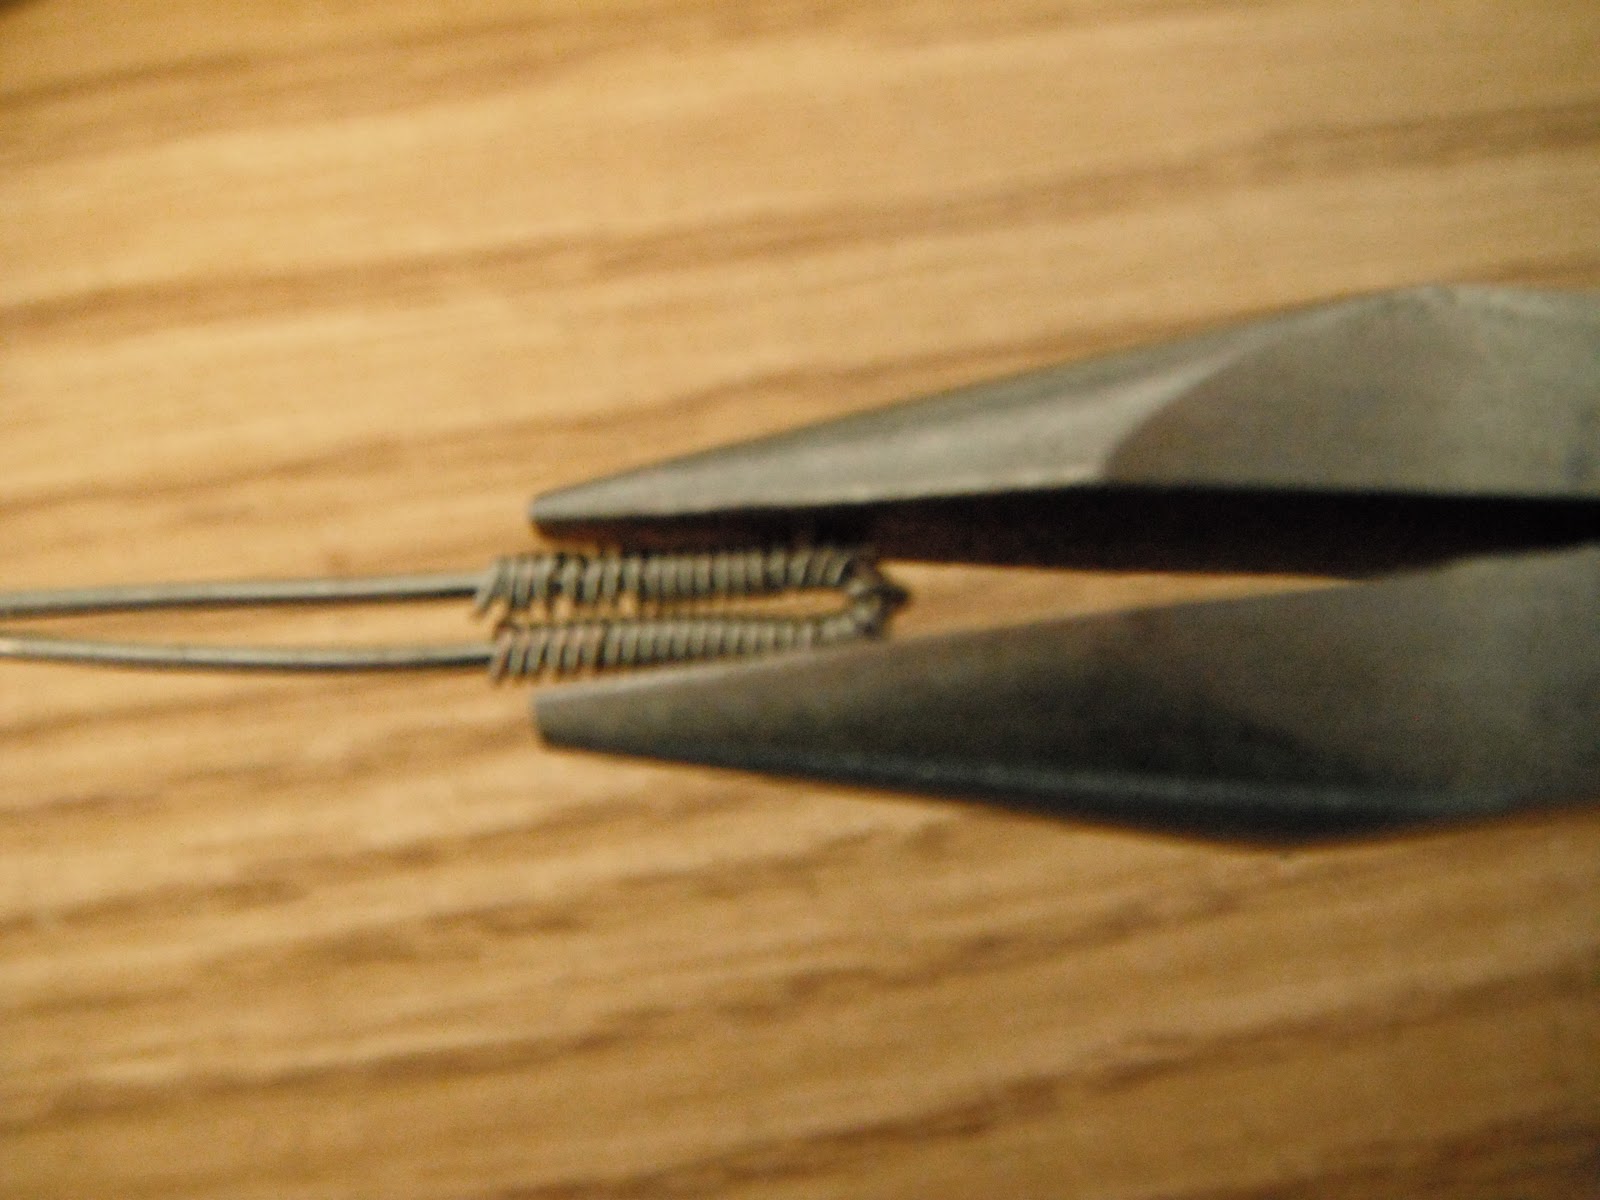
Then take the round nose pliers and gently squeeze the coils together, making a more uniform look.


Wrap as far as you can by hand. When you get to the end, you may need to use the pliers to wrap the last little bit. (I always use the pliers here. The wire hurts when it is that short.)


This is what it should look like when you have completed the first half of the wire wrapping.


Now turn the whole thing over in your hands so you can work with the remaining wire.


I can usually hold it still with just my fingers, but you may want to use the pliers again to hold the whole thing still while you wrap the remaining section of wire.


Continue wrapping until all the 26g wire has been used up.Then center the coils as best you can. Then squeeze the ends together so you now have another soft V shape.


Use the pliers to make the end come to more of a point, if you like. You can also leave the tip more rounded. Its all a matter of preference.


Now take the needle nose pliers and grab the exposed ends of the wire. You will want to position the wire over the larger part of the pliers to get a bigger circle when we curl.


Now twist the pliers toward yourself, making the wire curl around the pliers. 


Continue twisting until the end of the curl reaches the  rest of the wire.


Now separate the two "arms", making a V shape once again.


Turn the curls so they face into the center.


Now you can adjust the curls to make them wider, more narrow, etc. Again, a matter of preference. I chose to make the curls a bit bigger.


Be sure to do the same to both curls so they are as symmetrical as possible.


Now measure out about 1/2 inch of the 26 gauge wire. This will be used to close up the heart.


Fold this small section of wire into yet another soft V shape.


Feed it through the middle of the curls, from back to front.


Cross the wires so that the left wire is now on the right and the right wire is now on the left. Be sure to pull tight so you get a nice, clean look when you are finished.


Now feed each wire through to the back and cross over to the opposite side again, making sure to pull tight.


Continue doing this until all the wire is coiled around and the ends are tight against the larger wire. Your finished product should look something like this.


And now you're done!!! :)

On Monday I will expand on this tutorial and show you how to take two of these hearts and make them into a super cute pair of earrings!!! 
 
I hope you've enjoyed my tutorial. Feedback is always welcome. If there's something that is unclear or that you have tips on how to improve, please leave me a comment below. Thanks so much!

Until next week,

The Everyday Jeweler

Related Posts Plugin for WordPress, Blogger...